
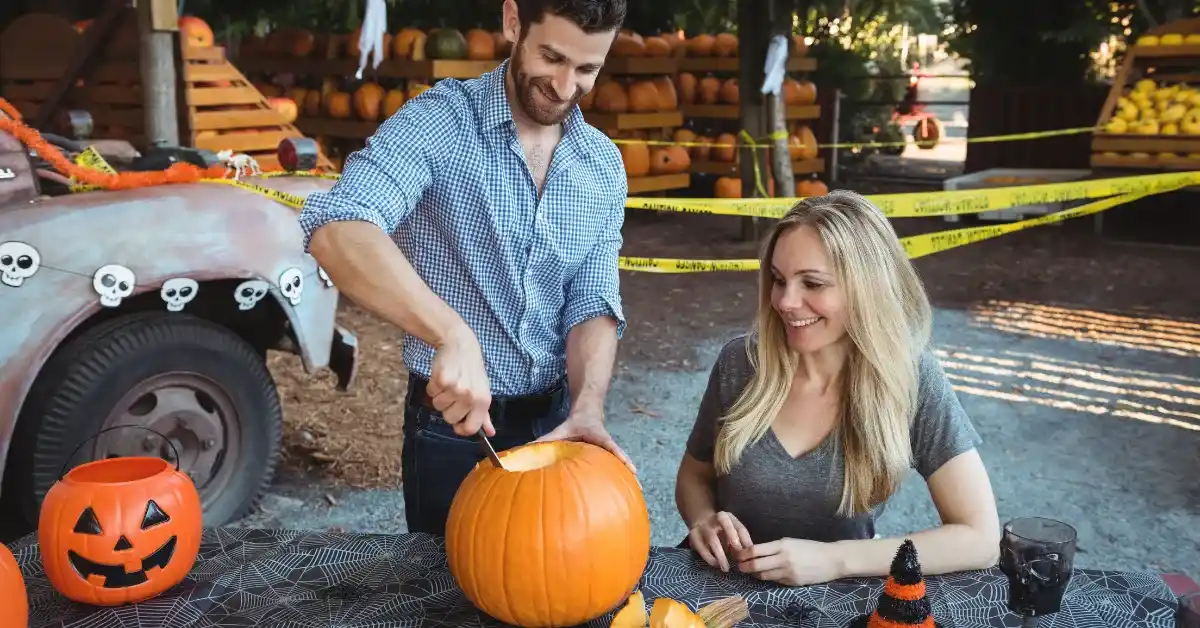
Carving pumpkins is a quintessential fall tradition, and this year, it’s time to take it up a notch with pumpkin carving ideas using a drill. Unlike the traditional knife-and-scoop method, a drill opens the door to precise patterns, intricate designs, and even textured effects that are difficult to achieve by hand.
Whether you’re decorating for Halloween, crafting a centerpiece for Thanksgiving, or experimenting with seasonal décor, drilling pumpkins offers a safe, creative, and surprisingly quick alternative.
Using a drill for pumpkin carving allows for controlled, repeatable patterns,from geometric designs to floral arrangements,and works well for all skill levels. You can create glowing pumpkin lights, add decorative holes for a lace-like effect, or even combine drilled patterns with traditional cuts for a hybrid look.
With the right bits, some planning, and a little patience, even beginners can achieve a professional-looking result.
Why Drill Pumpkin Carving Is Different
Traditional pumpkin carving relies on knives or saws, which can be tricky and sometimes dangerous, especially for children. Drill pumpkin carving minimizes risk and introduces a new layer of creativity:
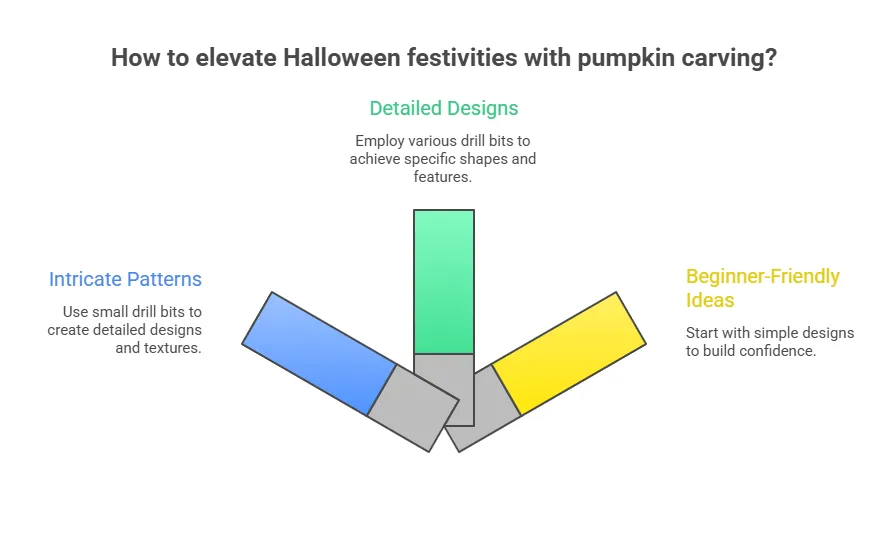
- Precision: Small drill bits can create intricate patterns or dot-based designs that are nearly impossible with knives.
- Safety: A drill keeps hands further from sharp edges, making it safer for kids to participate under supervision.
- Speed: Large-scale designs or repeated patterns can be completed faster with a drill, reducing the time spent scraping and cutting.
- Versatility: Drilling works well on soft, green, or mature pumpkins and can even be combined with painting, carving, or etching for extra effects.
Using a drill isn’t just a hack,it’s a new style of pumpkin artistry that transforms pumpkins into luminous, patterned sculptures.
Materials You’ll Need for Drill Carving
Before starting, gather these essentials:
- Pumpkins of any size (green or fully orange pumpkins work)
- Power drill with multiple bits (small, medium, and large for variety)
- Pattern or stencil (optional)
- Painter’s tape or masking tape
- Ballpoint pen or washable marker
- Scoop and small knife for clean-up
- Newspaper or a tray for mess control
- Candles, LED lights, or glow sticks for illumination
Pro tip: Using a variety of drill bit sizes adds dimension and allows you to create intricate or layered patterns. Small bits create delicate dots, while larger bits form bold, statement holes.
Step-by-Step Drill Pumpkin Carving
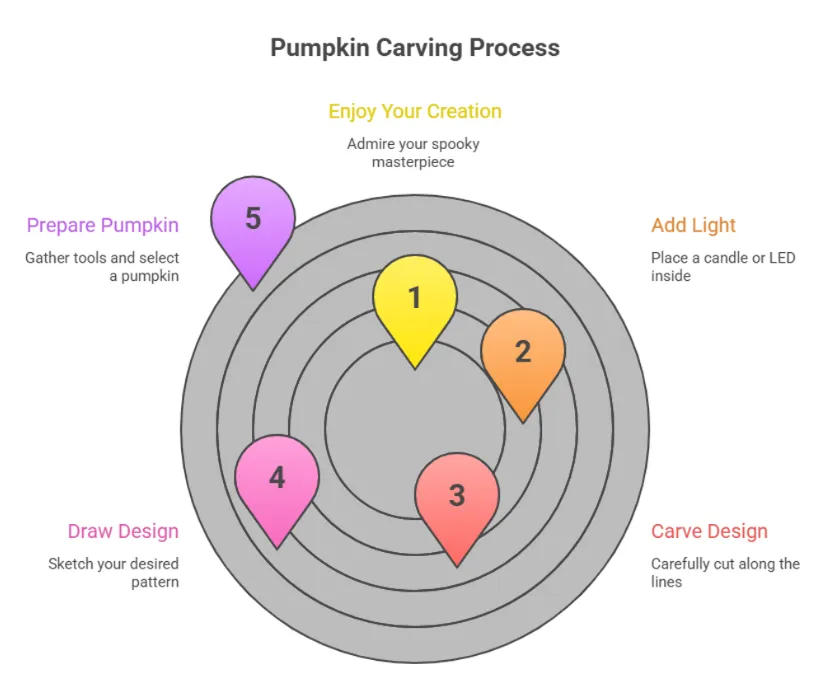
Step 1: Prep the Pumpkin
Start by washing your pumpkin to remove dirt and debris. Cut off the top or bottom, depending on your lighting plan. A bottom opening is often easier for placing lights, while a top opening allows for traditional jack-o-lantern designs. Scoop out the seeds and stringy pulp thoroughly.
Do this: Remove the pumpkin guts completely for a clean, smooth surface.
Don’t do this: Leave uneven pulp or seeds inside, as it can interfere with drilling and cause slippage.
Step 2: Plan Your Design
You can freehand your design or use stencils. Painter’s tape is excellent for creating temporary guides. Mark drill points with a ballpoint pen,avoid permanent markers like Sharpie, which won’t wipe off.
Do this: Use tiny stickers, tape, or light pen marks to outline holes.
Don’t do this: Attempt freehand drilling without a plan unless you’re comfortable with improvisation. Precision comes from marking first.
Step 3: Choose Drill Bits
Use a combination of bits depending on your desired effect:
- Small bits (1/16,1/8 inch): Perfect for dotted patterns, flowers, or intricate detailing.
- Medium bits (1/4,3/8 inch): Ideal for geometric shapes, small windows, or larger accents.
- Large bits (1/2 inch+): Create bold cutouts, textured holes, or exaggerated effects.
Tip: Drilling first before scooping adds stability. The pumpkin shell stays firm, reducing wobble while drilling.
Step 4: Drill Your Pumpkin
Drill carefully at each pre-marked spot. For beginners, have someone hold the pumpkin steady. Work slowly, especially with larger bits, to avoid cracking the shell.
Do this: Drill in straight motions, letting the bit do the work.
Don’t do this: Force the drill or twist it excessively, as this can break the pumpkin wall.
Step 5: Clean Up and Enhance
Once drilling is complete, use a small knife or spoon to clean rough edges. If you’re adding a traditional carved mouth or eyes, do it now. A simple wipe with a damp cloth can remove leftover marker or pulp.
Pro tip: Consider dipping your pumpkin in a mild bleach solution (1 tbsp per gallon of water) to help preserve it longer.
Creative Drill Pumpkin Carving Ideas
1. Polka Dot Pumpkin
Create a cascading polka dot effect by drilling different-sized holes in a random pattern. This design gives a whimsical glow when illuminated and works beautifully on medium to large pumpkins.
Tip: For a festive twist, mix small and large bits for depth and dimension.
2. Geometric Pumpkin
Straight lines, triangles, and hexagons create a modern, architectural look. Plan your grid on paper first, then transfer it with tape and pen.
Do this: Keep spacing consistent for symmetry.
Don’t do this: Overcrowd holes, which can weaken the pumpkin wall.
3. Flower or Mandala Pumpkin
Drill concentric circles in floral or mandala patterns. These are perfect for entryways or as a centerpiece. Use tiny drill bits for petals and medium bits for the center.
Try pairing this with your elf on the shelf notes ideas for a holiday crafting session that kids will love.
4. Pumpkin Faces With Drill Accents
Combine traditional jack-o-lantern faces with drilled patterns for a textured effect. Drill small dots around eyes, nose, or mouth to add dimension.
Tip: Drill lightly first and adjust depth as needed. It prevents accidental cracking.
5. Starry Night Pumpkin
Perfect for outdoor lighting: drill clusters of tiny holes to mimic stars. Illuminate with candles or LED lights to create a celestial glow.Pair with final night elf on the shelf ideas for festive evening décor inspiration.
6. Themed Pumpkins
- Halloween: Ghosts, bats, or spider web dots
- Thanksgiving: Leaf patterns or turkeys
- Christmas/Fall: Snowflakes or ornaments on green pumpkins
Combine designs with kitchen elf on the shelf ideas for a playful seasonal display.
7. Green Pumpkin Carving Ideas
Using green pumpkins adds a fresh color element. Drill floral patterns or geometric dots without fully scooping out the pumpkin for a natural, textured look.
Tip: Small drill bits work best on green pumpkins to prevent tearing the skin.
Common Mistakes to Avoid
- Skipping a plan: Freehand drilling can lead to asymmetry and mistakes.
- Wrong drill speed: High speeds can crack the pumpkin; medium or slow speeds work better.
- Ignoring safety: Always keep fingers clear and consider gloves for added protection.
- Overcrowding holes: Too many holes weaken the pumpkin, causing collapse.
DIY Tips for Longevity
- Bleach Soak: A mild bleach solution prolongs life.
- Avoid Direct Sunlight: Keep carved pumpkins shaded to slow decay.
- Use LED Lights: Safer than candles and prevent accidental burning.
- Rotate Display: For outdoor setups, rotate pumpkins occasionally to reduce uneven drying.
Explore elf on the shelf baking ideas for pairing pumpkin drills with seasonal treats.
Budget-Friendly Drill Pumpkin Carving
| Pumpkin Size | Drill Bits Needed | Time | Cost Estimate |
| Small (4,6″) | 1/16,1/8″ | 15,20 min | $3,5 |
| Medium (7,10″) | 1/16,1/4″ | 30,40 min | $5,10 |
| Large (11,15″) | 1/16,1/2″ | 45,60 min | $10,15 |
Tip: Dollar store LED lights and mini drills make these projects extremely cost-effective.
Combining Drill Carving With Painting
For extra flair, paint parts of the pumpkin before or after drilling. Metallic or glow-in-the-dark paints enhance the drilled patterns. Pairing color with texture adds depth and makes pumpkins truly stand out.
Real-Life DIY Scenario
Imagine a family Saturday project: toddlers helping with small drill bit patterns while adults handle larger holes. Drill patterns first, then scoop and clean. Finish by lighting pumpkins with LED candles. The result? A set of luminous, professional-looking pumpkins without anyone risking cuts or frustration.
FAQs
Can children use a drill for pumpkin carving?
Yes, but always under adult supervision. Small drill bits are safer, and kids can use drills to mark designs or help remove seeds.
Do I need to scoop pumpkins before drilling?
Not necessarily. Drilling first can provide stability, and you can scoop the pumpkin afterward if you plan to add interior lighting.
How long do drilled pumpkins last?
With proper care, such as soaking in a bleach solution and storing indoors, drilled pumpkins typically last 7,10 days.
Can I drill green pumpkins?
Yes. Small drill bits work best to avoid tearing the firmer skin of green or unripe pumpkins.
What’s the easiest pattern for beginners?
Simple designs like polka dots or straight-line geometric patterns are effective and beginner-friendly.
How do I clean drill bits?
Wipe bits with a damp cloth or rinse under water to remove pumpkin residue after each use.
Can I combine drills with traditional carving?
Absolutely. Mixing drilled holes with traditional carving adds texture and creative variety to your pumpkin design.
How do I prevent pumpkin collapse?
Avoid overcrowding holes and provide support for medium-to-large pumpkins while drilling to maintain structure.
Are candles safe inside drilled pumpkins?
Battery-operated LED lights are safest. If using real candles, ensure proper ventilation holes to prevent fire hazards.
How do I make intricate designs?
Use stencils, painter’s tape, or sticker guides and small drill bits to achieve detailed and precise patterns.
Final Thoughts
Pumpkin carving with a drill opens a world of creative possibilities. From geometric and floral patterns to playful polka dots and themed designs, this method is safe, fast, and visually striking. With a little planning, appropriate drill bits, and a few simple safety tips, anyone can create eye-catching, glowing pumpkins for fall, Halloween, or holiday décor.
The technique is beginner-friendly, fun for families, and offers endless variations for crafters of all ages.
Experiment with green pumpkins, combine paint and drilling, or use LED lights for modern, elegant displays. Drill pumpkin carving is more than a trend,it’s a practical, artistic way to elevate traditional pumpkin decorations into a seasonal masterpiece.
Pair your pumpkin creations with jesus elf on the shelf ideas for a cozy, festive atmosphere at home this season.